Creating Your Account In Our Online Scheduling Platform
STEP 1
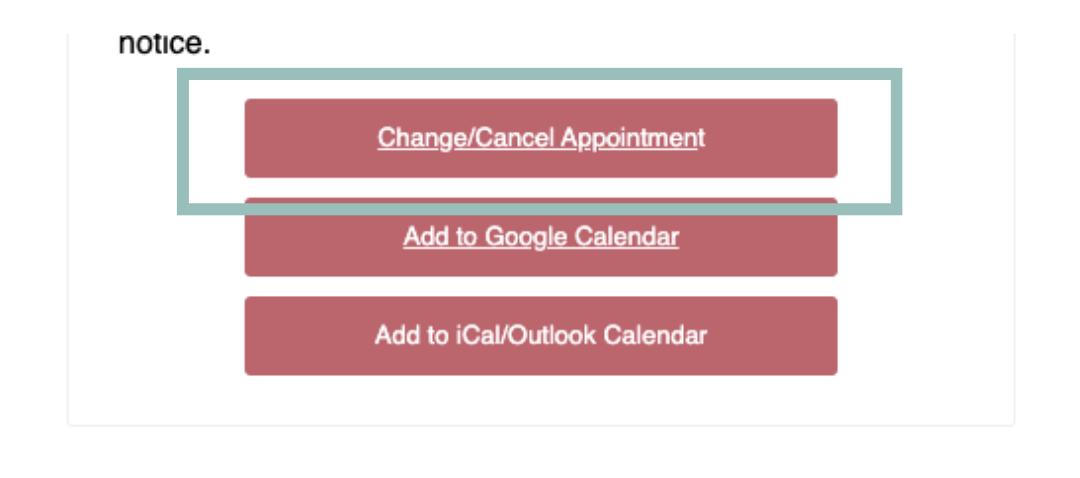
Go to your appointment’s confirmation page. You can find this by clicking the “Change/Cancel Appointment” button in your appointment’s confirmation email.
STEP 2
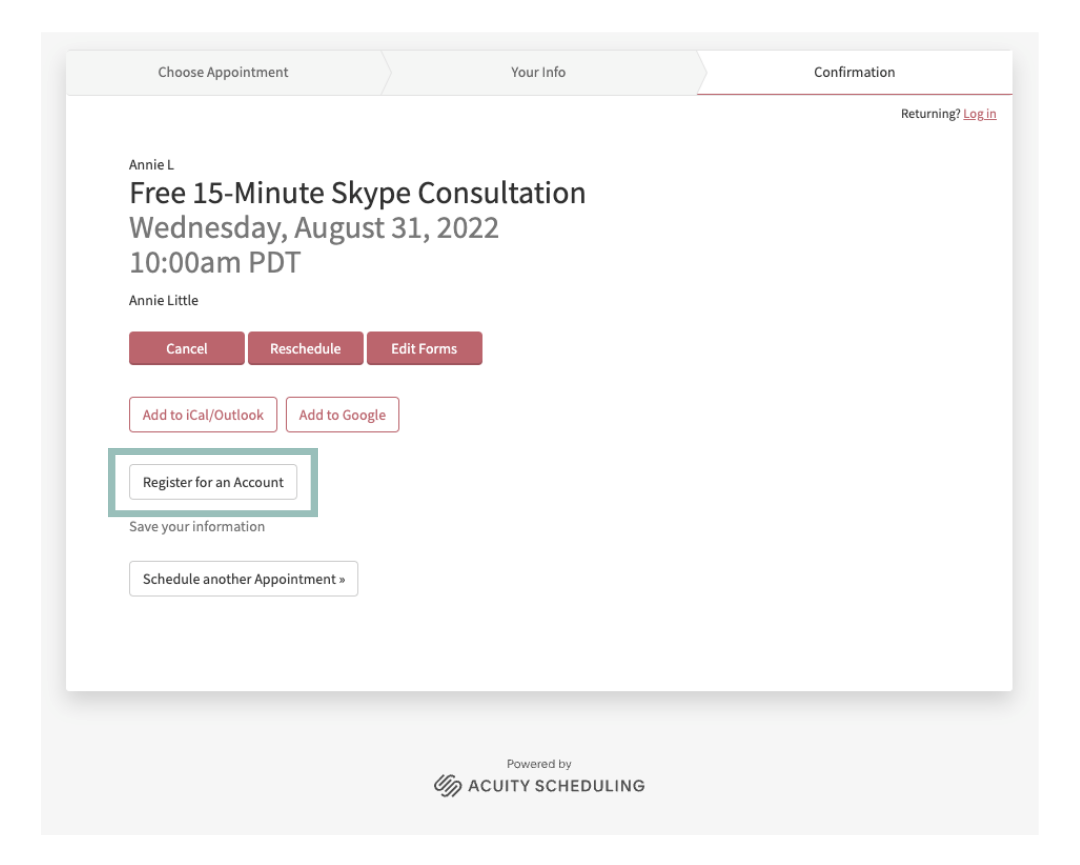
Click on the ”Register for an Account” button and fill out the form.
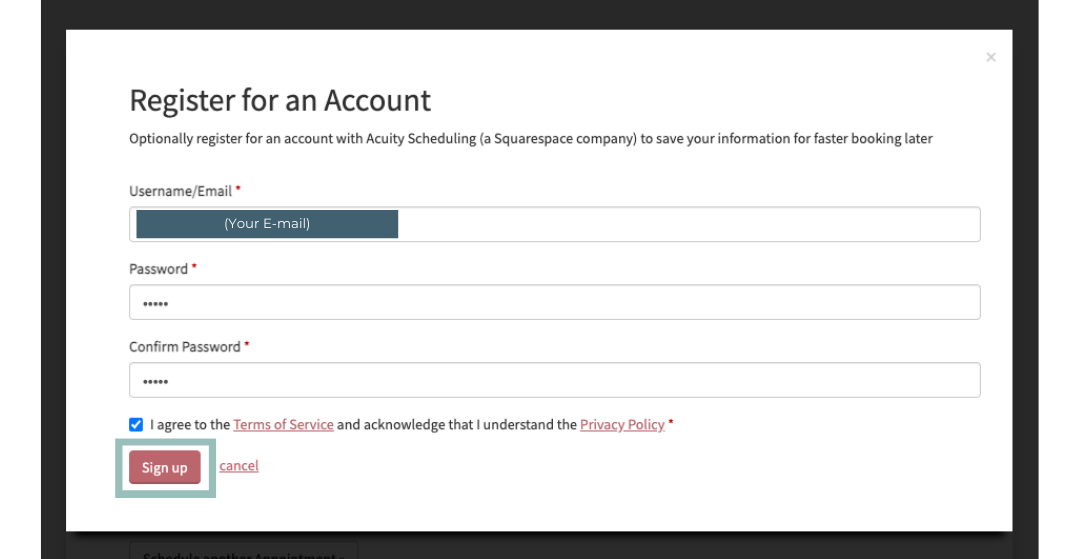
Nominate your password and click on the “Sign Up” button.
STEP 3
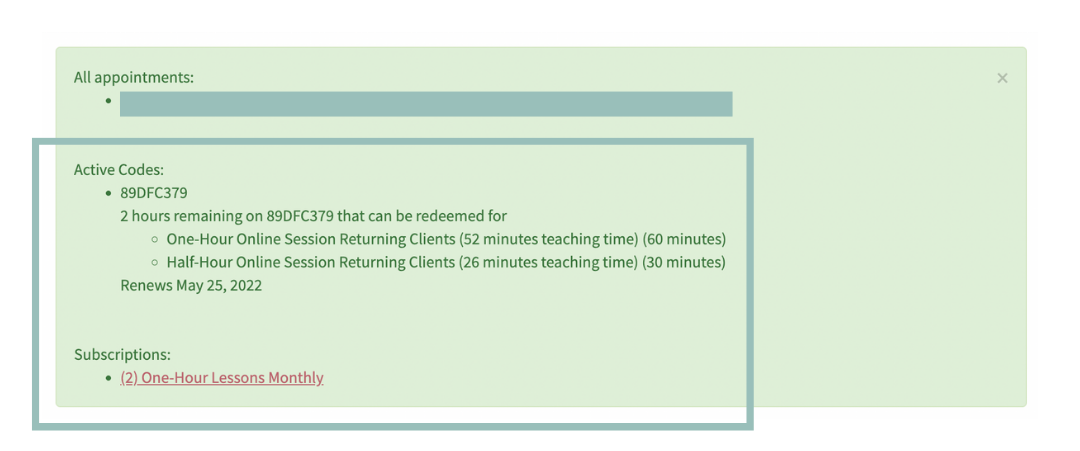
Great, you are now registered! Make sure you are logged in every time you schedule a lesson. All your past and upcoming appointments will appear on a green box.

If you are a studio member, you should also be able to more information about your billing and subscription.